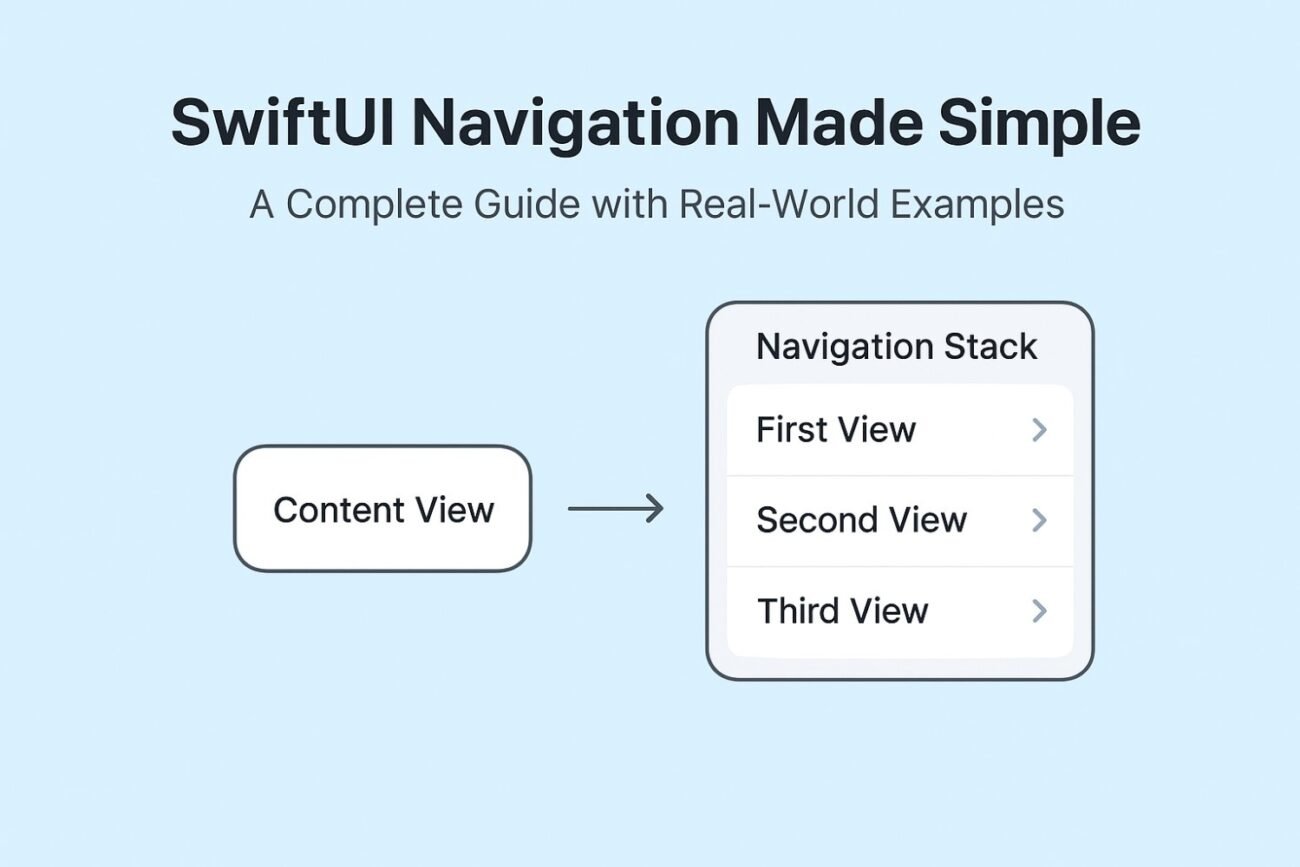
SwiftUI has evolved a lot in the way we handle navigation. If you’ve worked with UIKit, you probably remember using UINavigationController and pushing view controllers manually. In SwiftUI, things are more declarative — but also slightly confusing with multiple options like NavigationLink, NavigationStack, and navigationDestination.
In this post, we’ll walk through these concepts step by step.
1. The Basics: NavigationStack and NavigationLink
The simplest way to navigate in SwiftUI is by using NavigationStack and NavigationLink.
struct SettingsView: View {
    var body: some View {
        NavigationStack {
            List {
                NavigationLink("Profile", destination: ProfileView())
                NavigationLink("Security", destination: SecurityView())
                NavigationLink("Notifications", destination: NotificationsView())
                NavigationLink("Appearance", destination: AppearanceView())
                NavigationLink("Help", destination: HelpView())
            }
            .navigationTitle("Settings")
        }
    }
}Here:
NavigationStackacts like a container (similar toUINavigationControllerin UIKit).- Each
NavigationLinkknows its destination directly.
👉 This approach is perfect for static, predictable screens like a settings page.
2. navigationDestination(for:) — When and Why?
Now, you might wonder: If NavigationLink(destination:) already works, why do we need navigationDestination(for:)?
The answer: It’s useful when your navigation is dynamic or programmatic.
Example: Enum-Based Navigation
enum SettingType: Hashable {
    case profile, security, notifications, appearance, help
}

struct SettingsView: View {
    let settings: [SettingType] = [.profile, .security, .notifications, .appearance, .help]

    var body: some View {
        NavigationStack {
            List(settings, id: \.self) { type in
                NavigationLink(type.label, value: type)
            }
            .navigationTitle("Settings")
            .navigationDestination(for: SettingType.self) { type in
                switch type {
                case .profile: ProfileView()
                case .security: SecurityView()
                case .notifications: NotificationsView()
                case .appearance: AppearanceView()
                case .help: HelpView()
                }
            }
        }
    }
}

extension SettingType {
    var label: String {
        switch self {
        case .profile: "Profile"
        case .security: "Security"
        case .notifications: "Notifications"
        case .appearance: "Appearance"
        case .help: "Help"
        }
    }
}Here, we don’t hardcode destinations in every NavigationLink. Instead, we define a mapping between SettingType and its view in one place (navigationDestination).
This is cleaner and scalable, especially when your list is dynamic (e.g., items fetched from a server).
3. Programmatic Navigation with NavigationPath
Another superpower of navigationDestination is programmatic navigation.
For example: after login, you might want to automatically push the user to the Profile screen.
struct ContentView: View {
    @State private var path = NavigationPath()
    @State private var isLoggedIn = false

    var body: some View {
        NavigationStack(path: $path) {
            VStack {
                if isLoggedIn {
                    Text("Welcome back!")
                        .onAppear {
                            path.append(SettingType.profile) // Go to Profile programmatically
                        }
                } else {
                    Button("Login") {
                        isLoggedIn = true
                    }
                }
            }
            .navigationDestination(for: SettingType.self) { type in
                switch type {
                case .profile: ProfileView()
                case .security: SecurityView()
                case .notifications: NotificationsView()
                case .appearance: AppearanceView()
                case .help: HelpView()
                }
            }
        }
    }
}Here’s what happens:
- When the user logs in, we append
.profileinto thepath. - SwiftUI automatically pushes the Profile screen without the user tapping anything.
👉 This is very handy for flows like login, onboarding, or deep linking.
4. When to Use What?
- ✅ Simple
NavigationLink(destination:)
Use it when your destinations are static and few (like a settings screen). - ✅
navigationDestination(for:)with enum or model
Use it when your destinations are dynamic, or you want to manage them in one place. - ✅ NavigationPath with programmatic navigation
Use it when you need to navigate automatically (after login, from a push notification, or via deep link).
Final Thoughts
SwiftUI’s navigation APIs can feel a bit overwhelming at first, but once you understand the use cases, it becomes very powerful:
NavigationLink(destination:)= simple, static navigation.navigationDestination(for:)= dynamic, decoupled navigation.NavigationPath= programmatic navigation.
Start simple, and move to the advanced approach only when your app really needs it.

